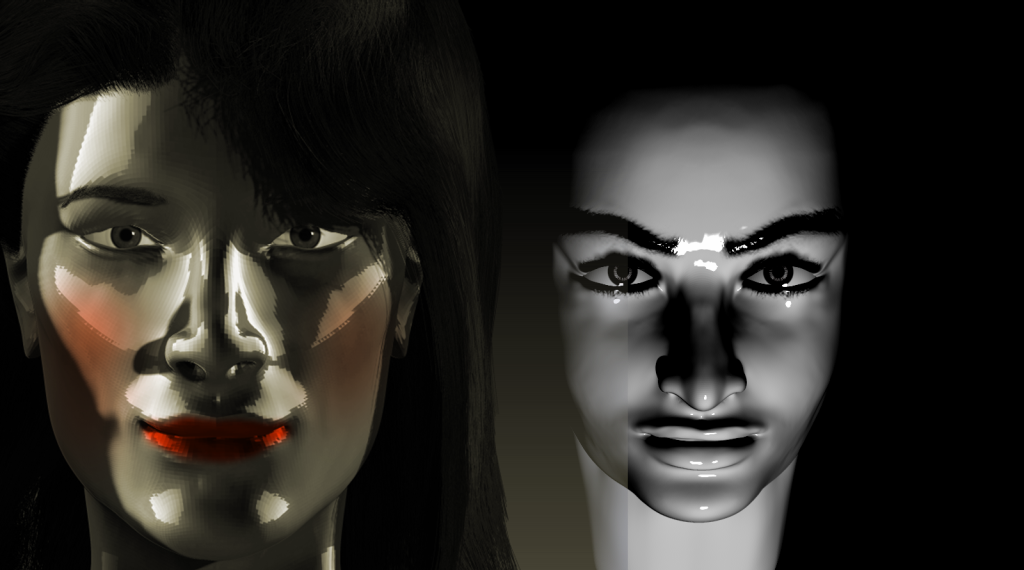
If you are into 3D modelling then you know how lovely and engaging it is. I sometimes find it soothing to work on a model for a length of time and finally visualise what I have done. You could be using any of the popular modelling tools, such as Blender, Maya, Cinema4D or 3dsMax. For detailed modelling, you would usually use ZBrush, 3DCoat, Mudbox, etc. You would have seen work done in ZBrush after watching movies like The Terminator and Avengers. However, it is a complex software with an irregular user interface.
In this post, I discuss how I studied and tried to master the software over a period of 40 days. At the time, one could get a 40 day trial period of the software. I have included below some of my works after 40 days.
I was stuck on ZBrush in 2015 when I came across the software. I was drawn to the unusual GUI. It was also exciting to know that you could burn millions of polygons and the poor computer would not cough early. At the start, I knew nothing. Just like learning to write, I was learning to push the digital pen and often made a horrible mess.
Out of frustration, I decided to test a hypothesis out. I would model a portrait every morning for 40 days and see how far I could go. It would also be for not more than one hour. I did this before I picked up my bag and left for school. I eventually accomplished this but missed out about 3 days out of discouragement.</p>
<p>This did not go without a few books. I sort books on Anatomy, with a lot of pictures. I borrowed one from the library and held onto it during that time. I also read books by great sculptors (book links below). Thus, it was a combination of things but I just continued.
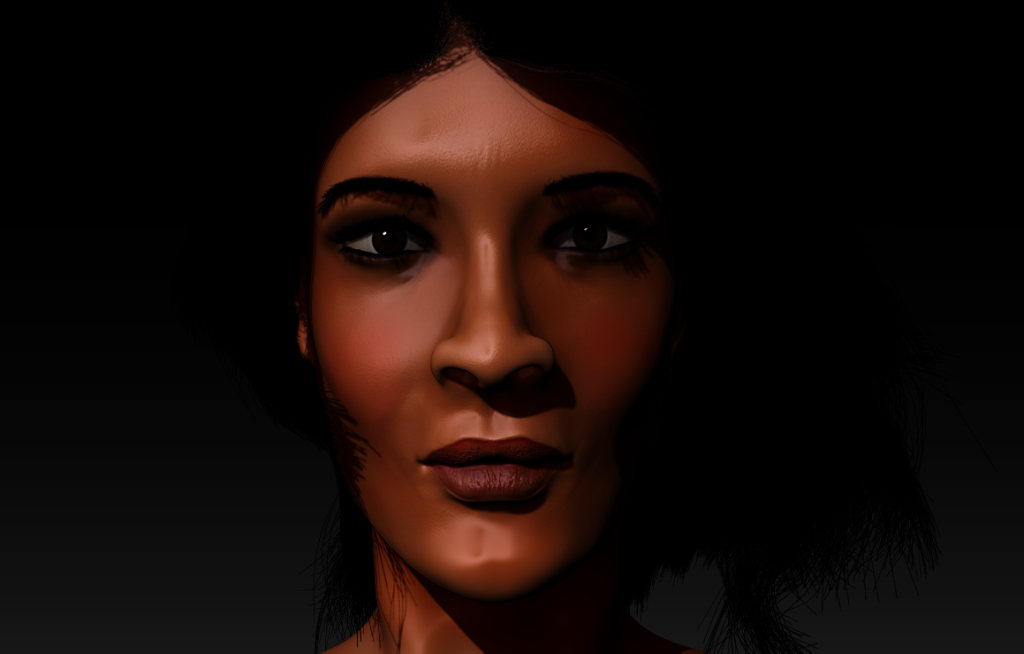
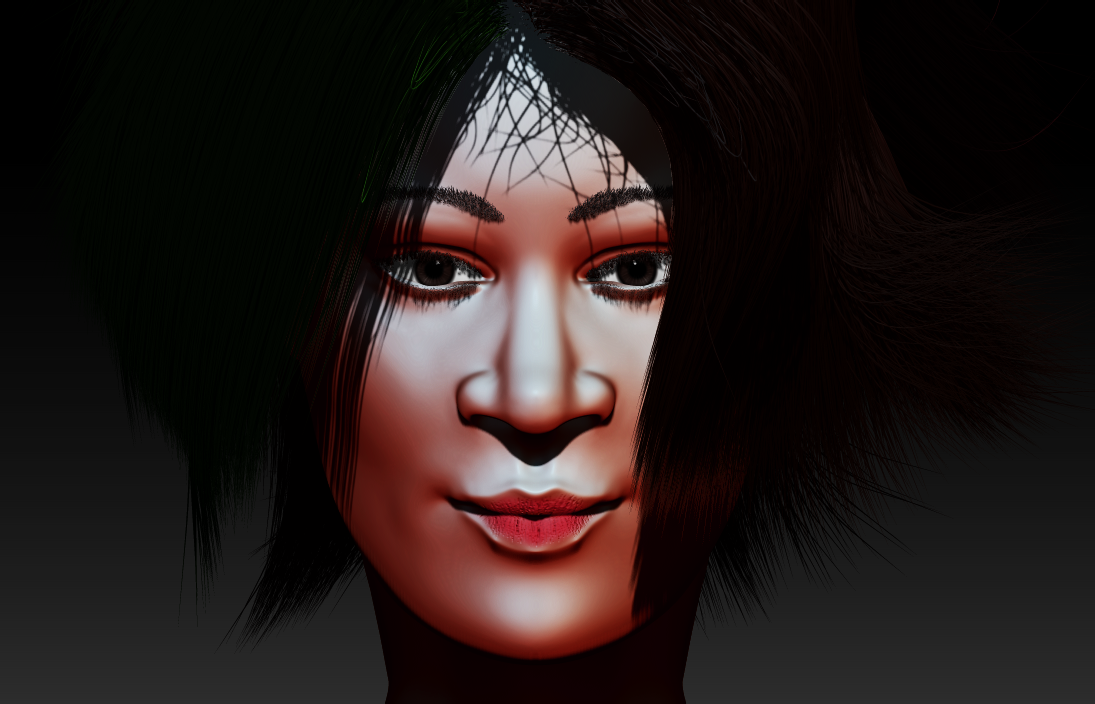
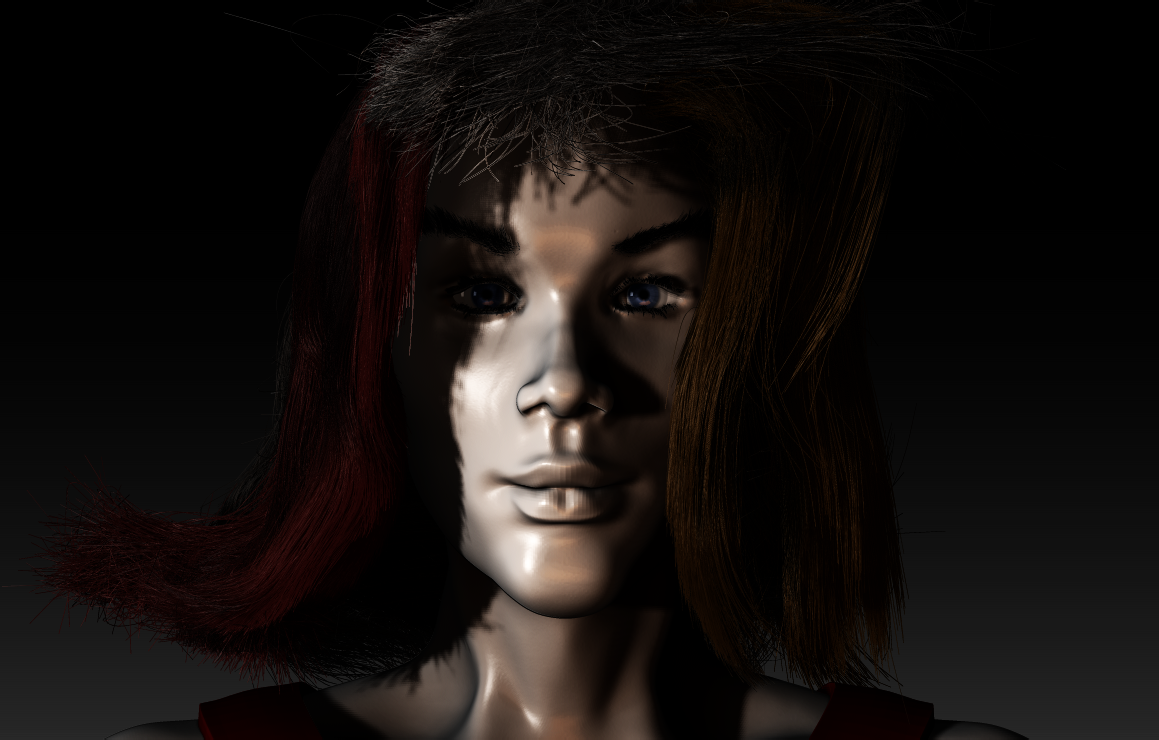
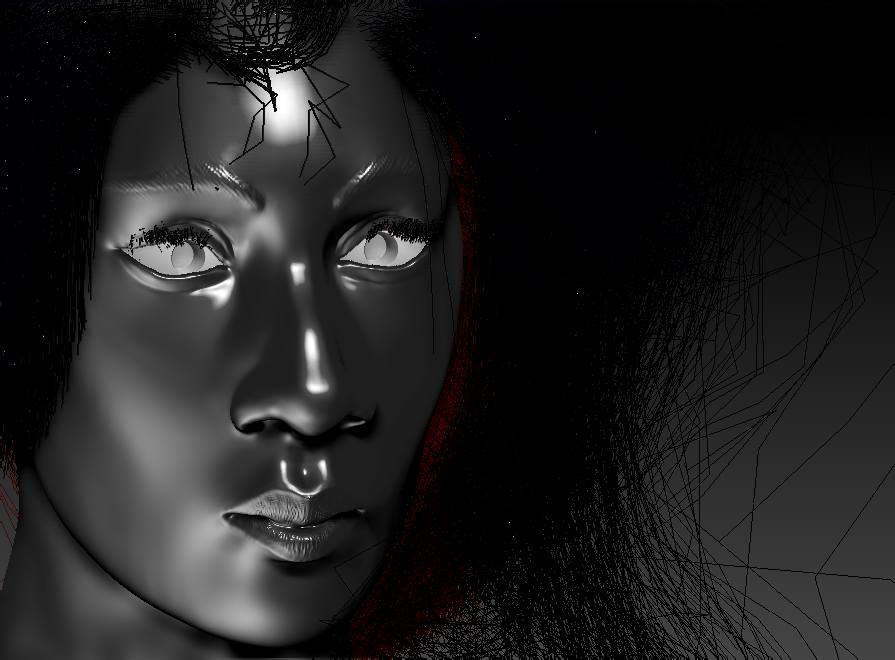
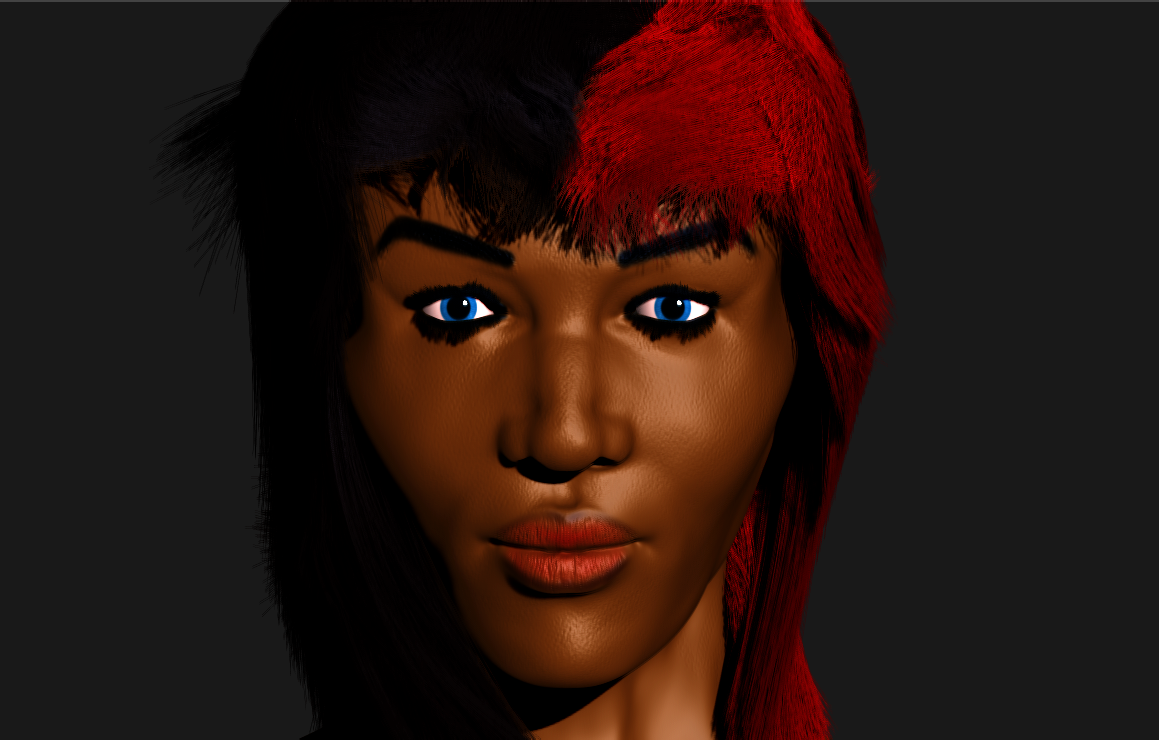
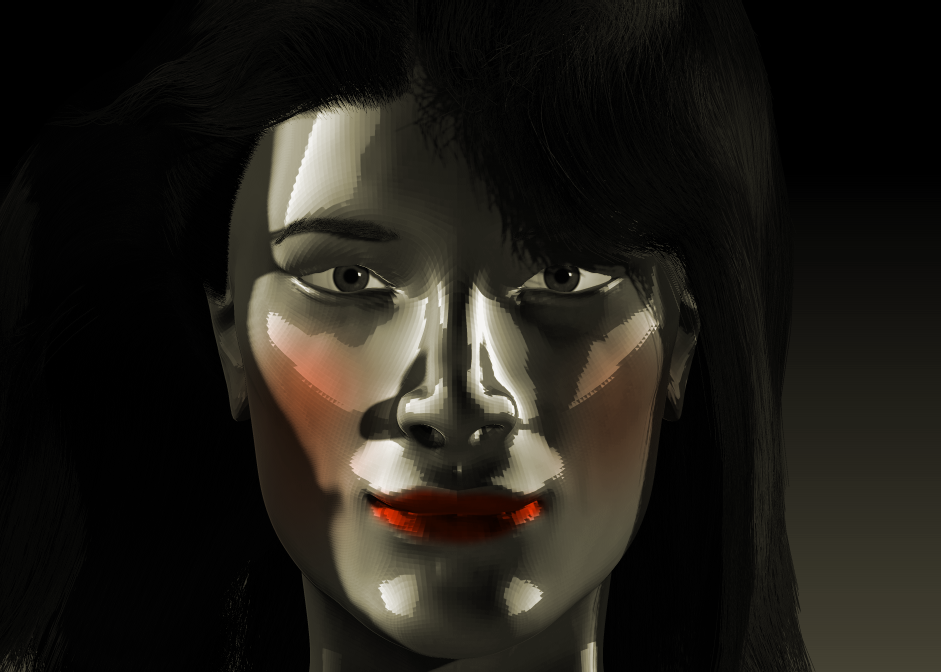
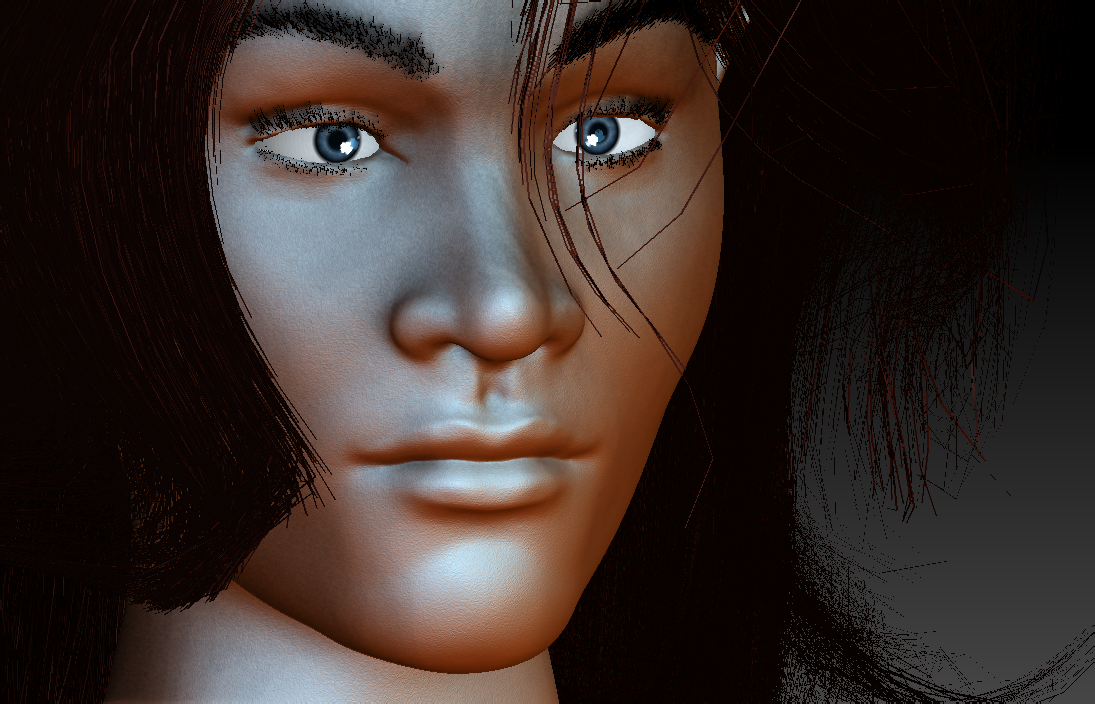
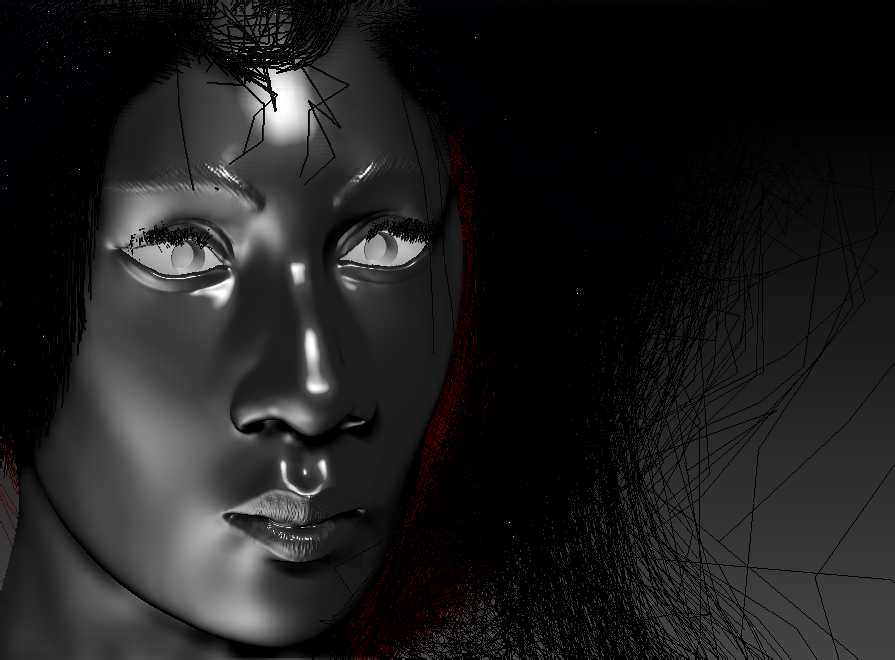
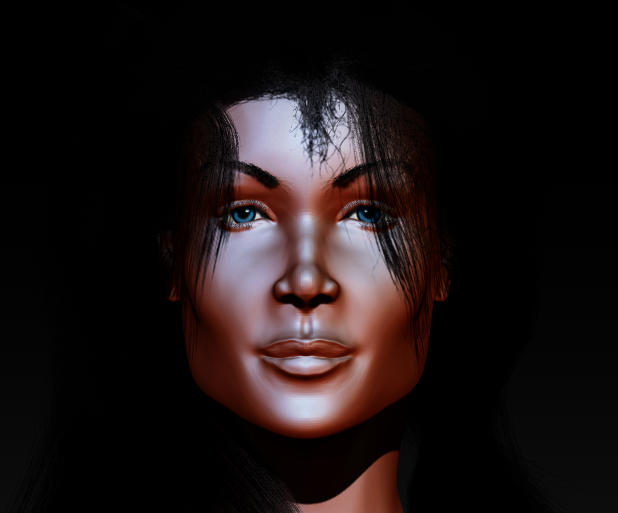
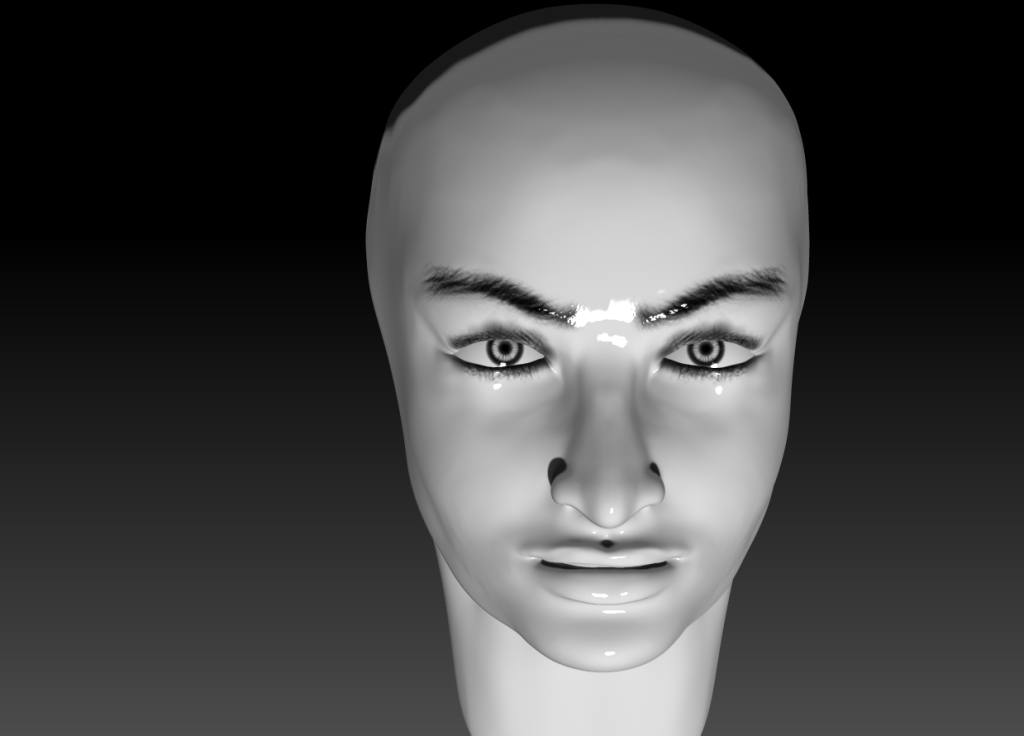
Determining Success
Eventually I realised that I had succeeded when I was able to model an acceptable, but perhaps improvable, portrait within one hour. I could improve it with more time but my specification was to be able to model a portrait in one hour. A few of my productions in order of improvement.
From there on, I was selecting standing figures and simply model from scratch. Thus, I would form the body from the reference image and simply use my learned skills to draw out the shape. What happened then will be discussed in another post.
Before I end this, I have placed below links to books that I read to improve my ZBrush modelling. If you would like to learn using my method and you would like to talk about it, please feel free to send me a comment here. In a future post, I will discuss the hardware and software tools that I used when I worked on these models.
Thanks for reading.
Note that links below are affiliate links to Amazon. That means that I get a small commission when you get to buy any of the included books.

